
I've been on this decorative ball kick lately, after all, I have all these great pieces such as wooden bowls, creamy white urns or glass jars, and I have nothing to put in them! As I was browsing some shops on Etsy a few months ago looking for decorative balls, I came across this awesome shop called makalewakan. I absolutely loved her bean ball decorations. The idea of bean balls has been festering in the back of my mind (getting a bit dusty, really) since then, and finally a few weeks ago I decided to take action. I thought, hey, I could make those. So I tried it.
Disclaimer: I do not have any knowledge of the actual process that makalewakan uses, I simply made up my own process using her shop as inspiration. Also, these bean balls can in no way be mass produced for commercial use - the design right resides with makalewakan. This is for personal use only.
Ok, now onto the good stuff. You should only proceed if the idea of burnt fingers, strands of glue stretched like a spider web across your dining room table, tedious work, and wasting perfectly good food does not bother you. If any of the above bother you, head to makalewakan and buy one already made :)
First, here is what you need:
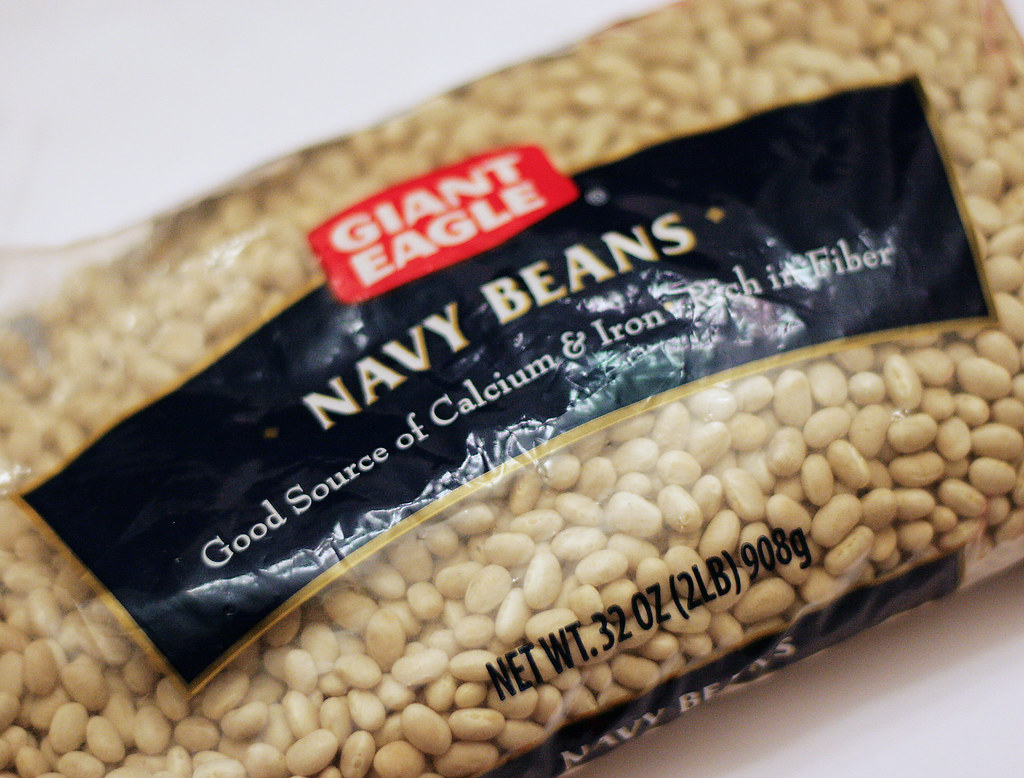
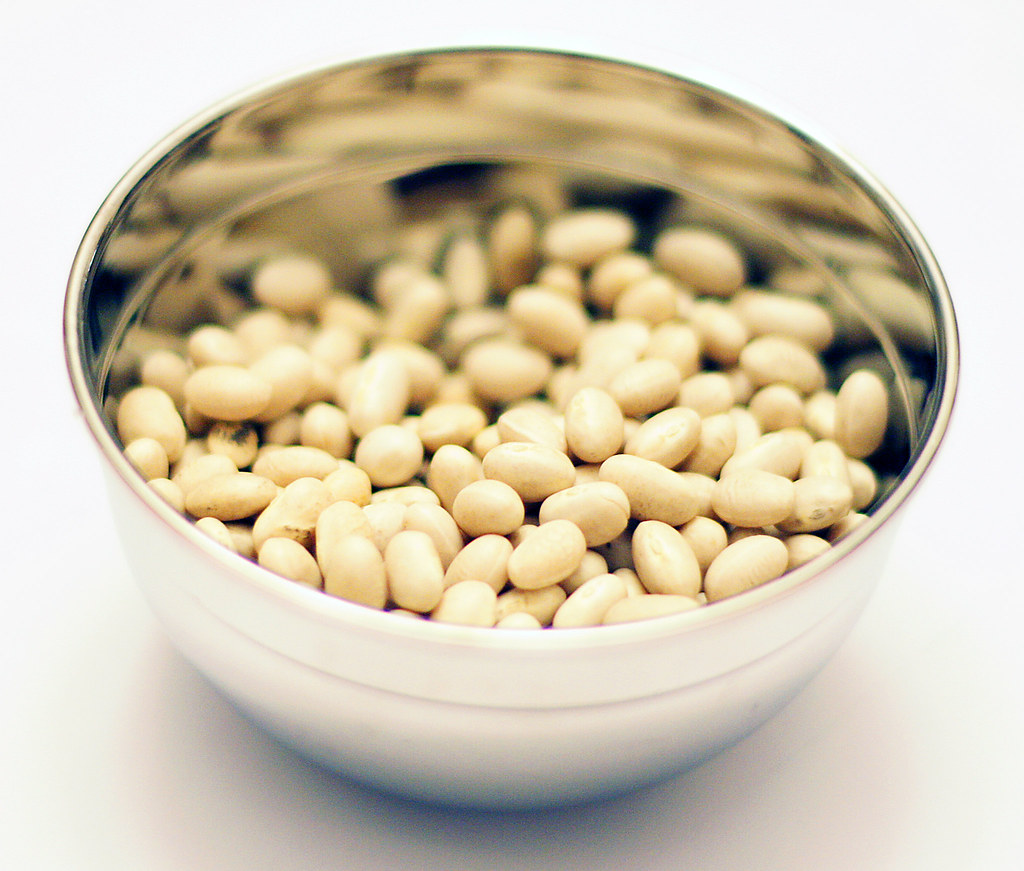
Some cheap beans, plain and simple. They don't have to be navy beans, any type of dry bean will do!
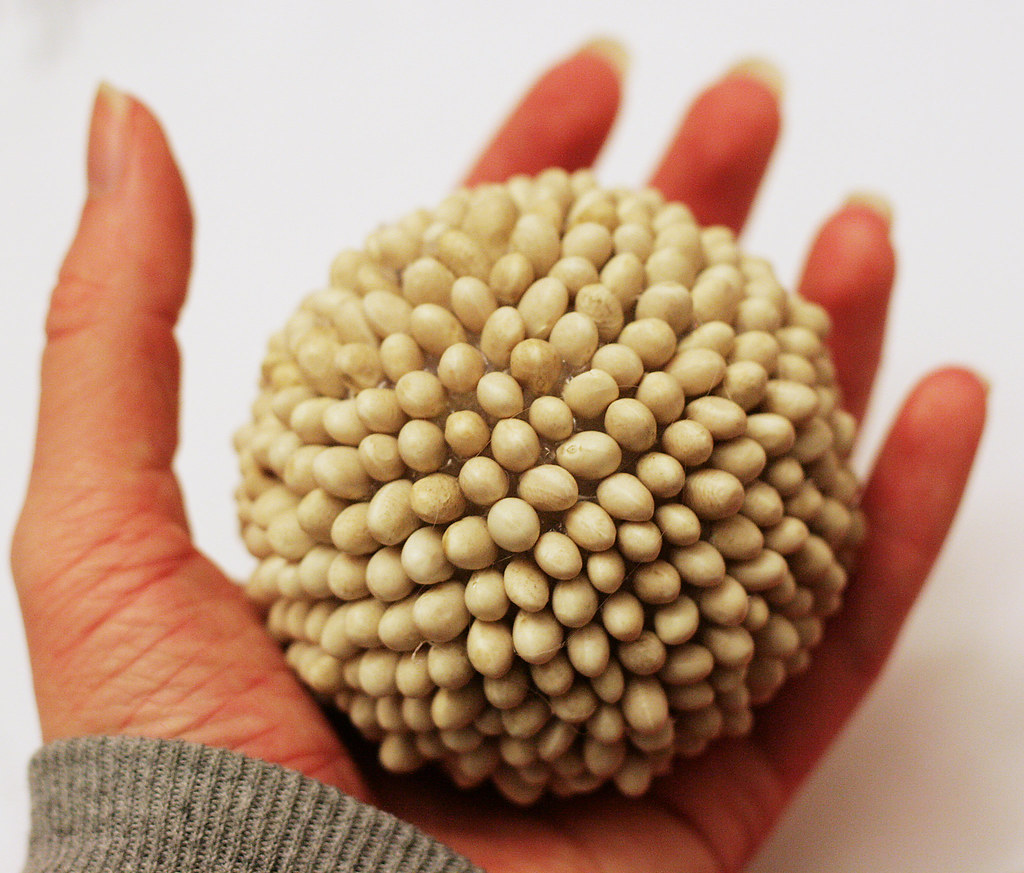
A Styrofoam ball, really any size will do. Bigger beans probably should go on a bigger ball, but smaller balls go faster! This one is 2.5" and took me about an hour.

A trusty hot glue gun... and some extra glue sticks.

First...
Pour some beans in a bowl so that they are readily accessible. Plug that glue gun in and get it heated up!
Then...
You'll want to start gluing the beans in a ring around the center of the ball. Some Styrofoam balls have a line around the middle already, mine didn't so I had to guess. Lay a line of glue across the middle of the ball; you'll want to work in about 1 inch increments so your glue doesn't get too hard. Taking one bean at a time, press the small end into to the glue so that the bean is standing on end. Continue doing this all along the glue line... and repeat! Continue working your way around, and continue to make successive rings around the ball.

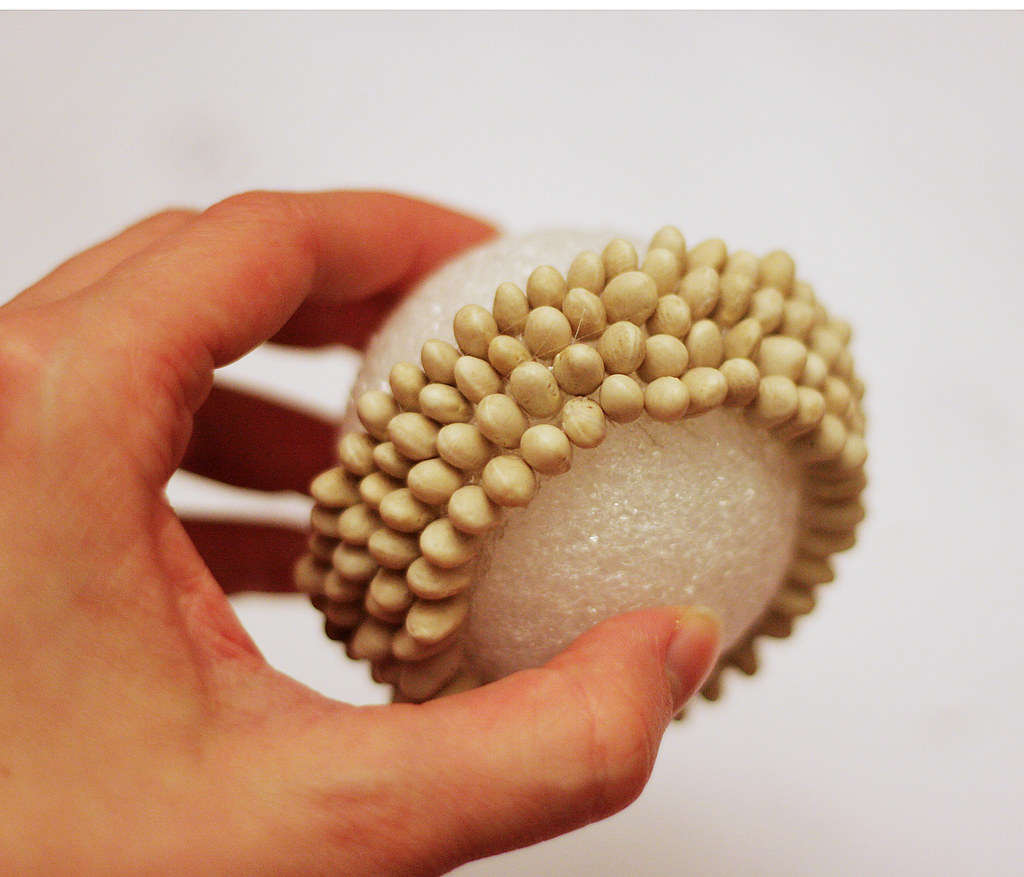
Halfway done... if you look closely you can see all of the pesky glue strings :( You just need to pick those off after you're all done!
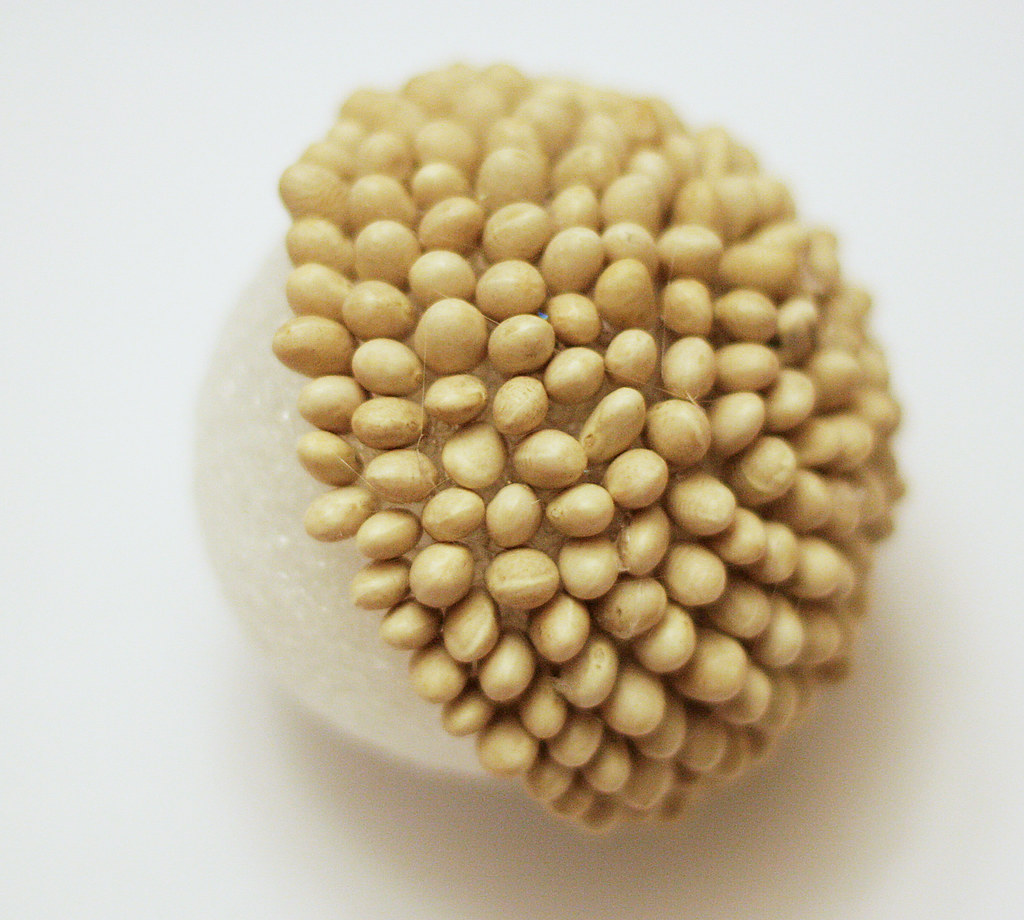
Finished!
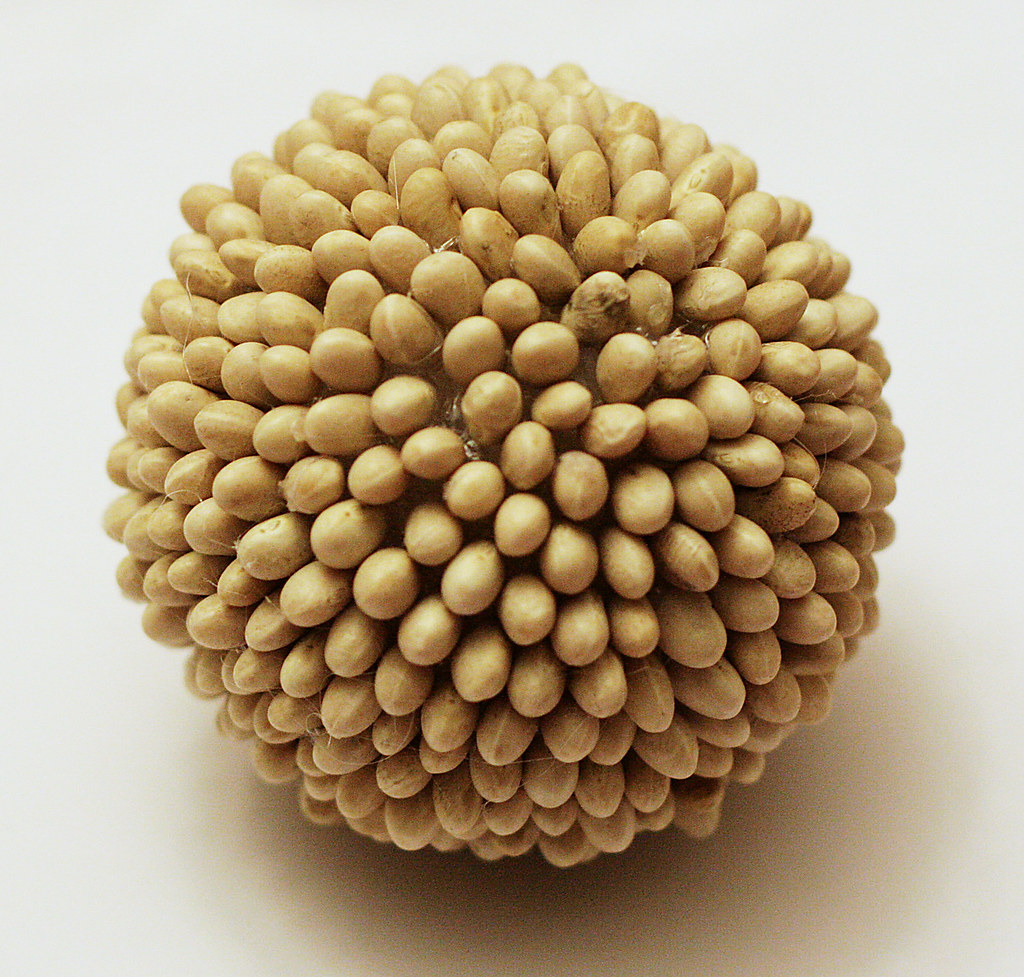
Now, I also left a small blank area at the bottom of this one... I plan on going out in the woods (just as soon as the snow is gone, really...) and grabbing a stick, putting the bean ball on top, and putting a couple of them in a white urn.
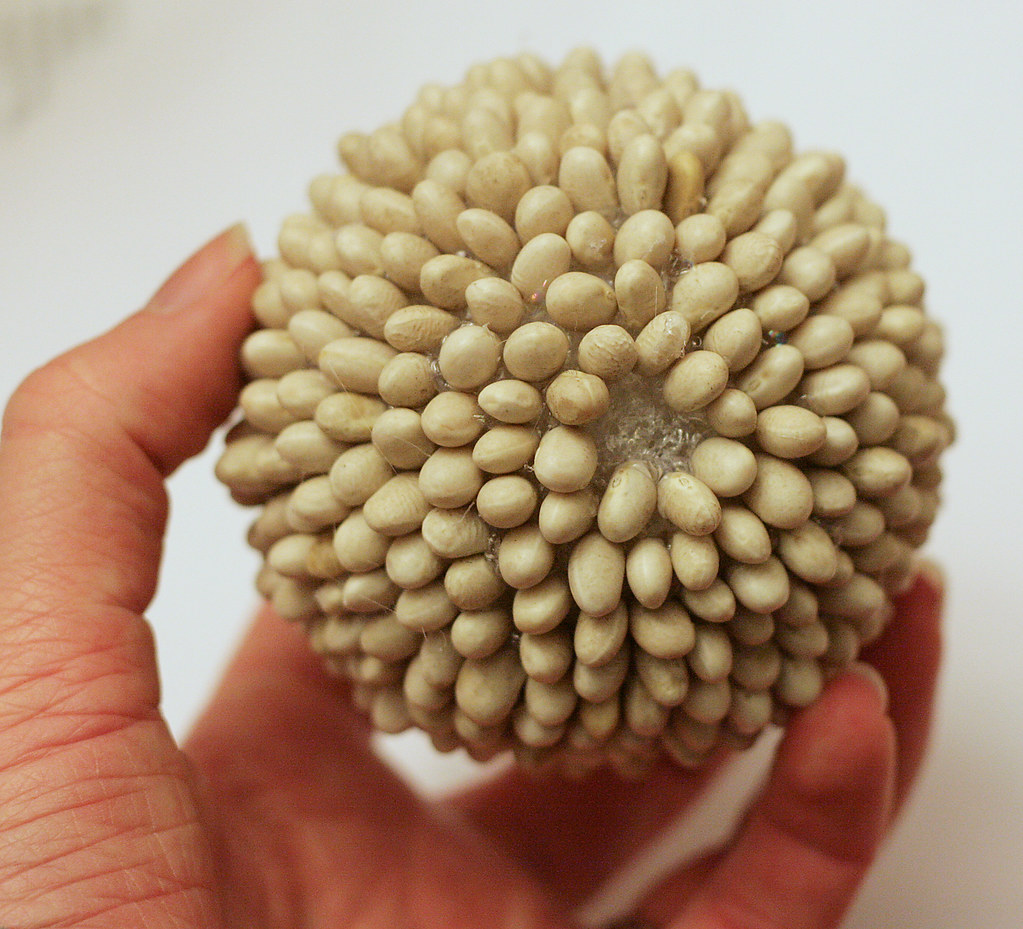
Here is another, slightly bigger one I made out of pinto beans:

I hope you've enjoyed this tutorial! Now who wants some beans for dinner?
12 comments:
Well, Erin!! You have finally done it! You can do anything! They are really creative and really very attractive for decor. I love them but would not have the patience, I don't think.
Love them!
Sue
That is so awesome...what a great idea..however, I can see it collecting dust fairly quickly...any washing instructions?!?!?! =)
you did good with this, kiddo!!! i sense a bit of the pioneer woman's influence, which is a cool thing!!!!
great photos, i am wondering how they'd look if you did a swirly pattern, sort of paisleyish! bet they'd be real purty!
:)
to clean them - put them in a bag with salt, and gently shake around - the salt will pull the dust off, and not damage anything - be gentle!
This is a great tutorial, not quite the way I do it but nevertheless, they look great. They can be dusted with a paintbrush too. :-) For those that don't have the patience, let me know!
Those look great! I've never seen them before. Let me know if your cat tears them up. I'd like to know before I try one. lol Bloomfield Beads
Cool! Fun beans!!
Wow, i've never seen so much inventive stuff other than here and on etsy in my life! This is just so....i don't know what else to say!
Lovely!
lymi!
san
What a great tutorial. I bet you could/Can teach me how to do tatting with a bobbin! My great quest. (So far all I have managed is the long needle tatting.) I like your blog. Found you on Friday Follow (even if it's Saturday already). Check out Steadfast Ahoy and see what we're up to.
Those are SO neat! I may have to give it a whirl...I LIVE for burned fingers!
I love this sort of textured ball just around the house. It's such a great idea to make them ourselves!
So, so cute! Love these! :)
This is a really great craft project! I would love to make this with different colored beans. Thanks!
Post a Comment