
One of my favorite things to do with my husband when we’re looking for cheap entertainment is to go to Borders, get a mocha from Seattle’s Best, and mull over magazines and books. Saturday night was one of these nights, and I decided to check out a magazine that my mom had come across called Flea Market Style (fleamarketstylemag.blogspot.com). I found out that this magazine is not actually a continuous magazine yet, they have only released one issue, but it is a possibility, and I sure hope that it does become more regular. Reading through it, I was very inspired to try, and expand upon, some of their ideas. One thing I noticed as I was reading the magazine was that I would really love to have a little notebook that I could sketch and write down my ideas in. I walked around Borders for a while looking for just this type of thing, and couldn’t find anything I liked! Most notebooks I saw had lines in them, and I wanted something unlined so that I could sketch unimpeded. When I got home that night, I thought, well why not try to make my own notebook? I tried one and it turned out so well that I made another, and documented it so that I could share how I made these mini notebooks.
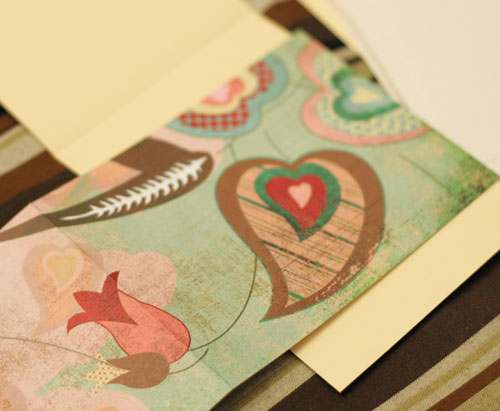
First, you need some cardstock or sketchbook paper, whatever you’d like to use. I actually found a pack of printable postcards that were just the right size and weight to use, and they were pre-perforated so I didn’t even have to cut them! The size of the paper is 4x6”. You’ll also need some pretty scrapbook paper, a manila folder, a glue gun, and a paper cutter (or scissors).
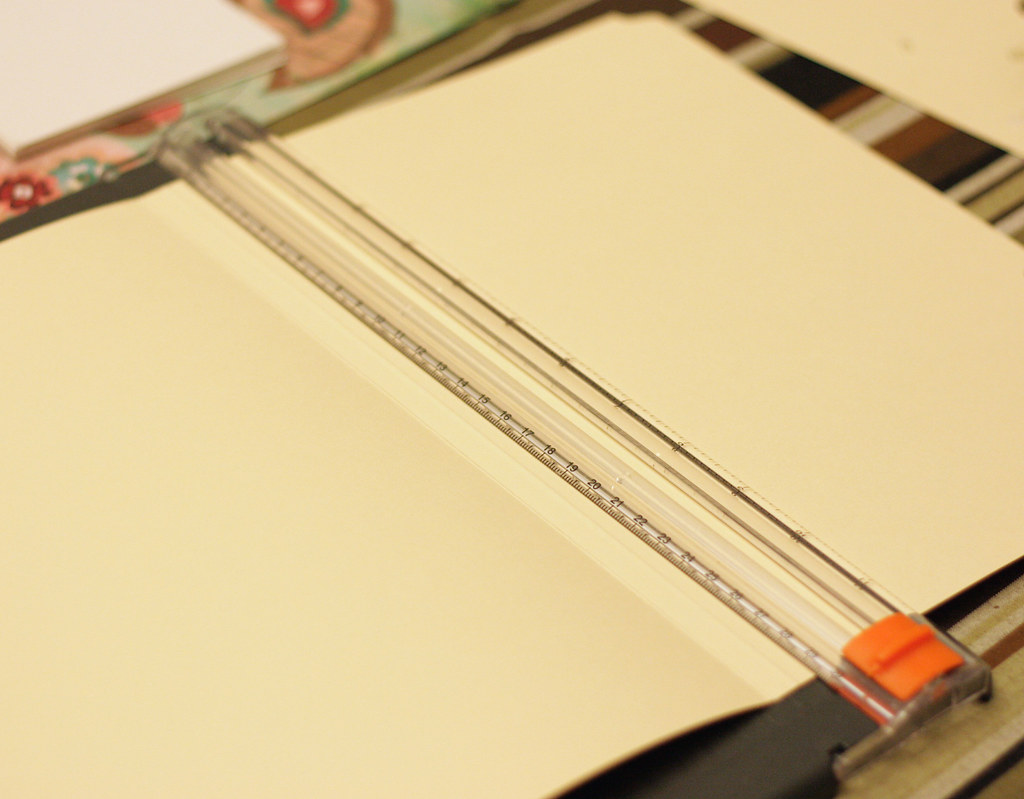
The first step is to cut your cardstock into 4x6” pieces. My notebooks have 24 pages each.

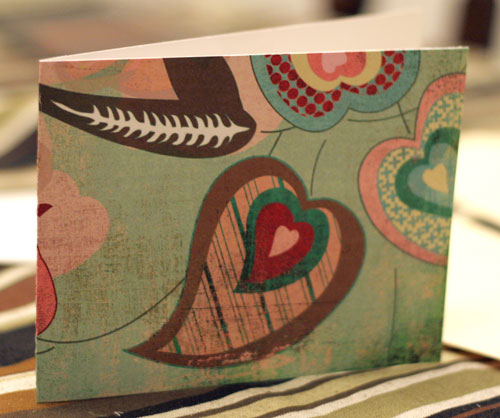
Next, you’ll need to cut a manila folder into a strip about 4” wide and 13” long. The exact length isn’t too important, as long as it’s longer than 12 ½ inches. You should also cut a piece of scrapbook paper to this size. Orient the design so that if you hold the paper with a long side towards you, you see the correct design. I suppose you could also do it the other way, but for this tutorial, I oriented the notebook so that you would open it from the side, like a standard notebook, not the bottom like a legal pad.
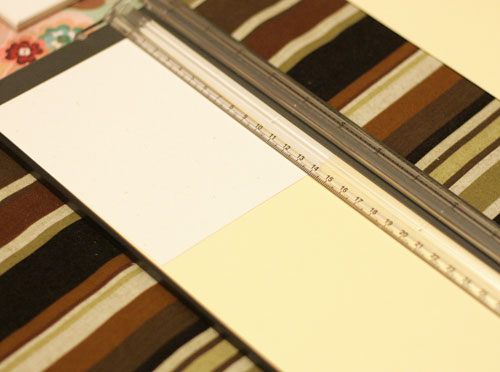

The next step was to fold the manila piece into the notebook shape. I did this by aligning a piece of my filler paper with one end of the manila piece, and marking where the fold should be. I folded here to make a crease.
Then I stacked up my filler paper and aligned it with the fold, marking where the second fold should be. Crease here as well, and repeat this process with the cut scrapbook paper.

After lining up your filler paper, you may find that the scrapbook and manila pieces are a little bit too long. Simply cut off the unnecessary extra.
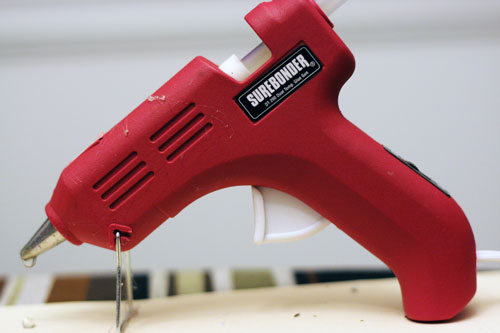
Now I took my trusty hot glue gun and glued the scrapbook paper to the manila piece, pressing firmly to avoid wrinkles from the glue. This could probably be better accomplished with some double stick tape or a glue stick, but I didn’t have either of those handy, so glue gun it was! Just make sure the glue isn’t globby for this part so that you can’t see the glue lines after it’s dry.

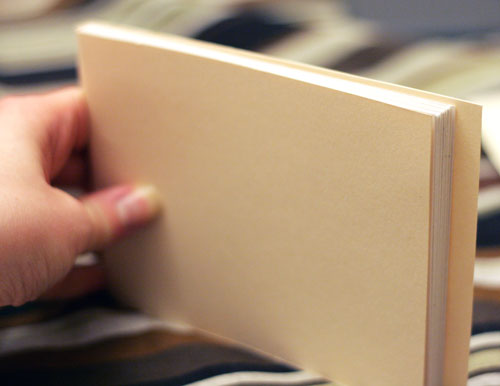
Now for the fun part – gluing in the filler paper. Just hold open your cover, and put a ton of hot glue right down the inside of the spine. Stack up your filler paper and press it against the glue, fitting it nicely inside the cover.
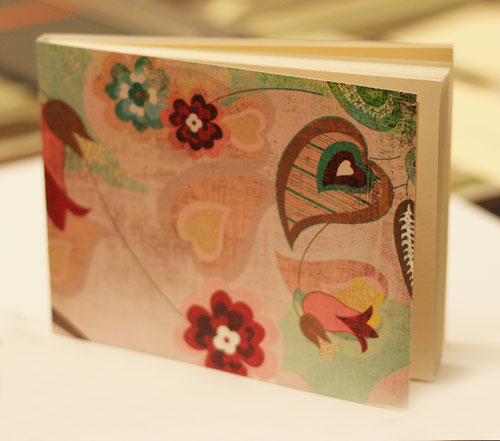
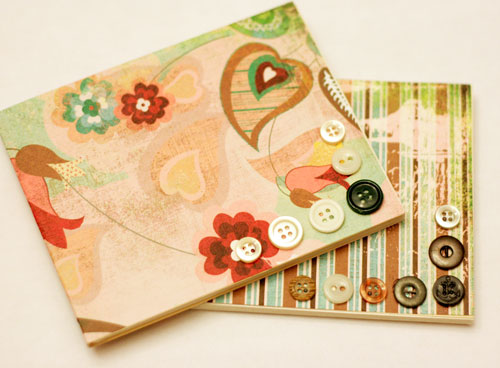
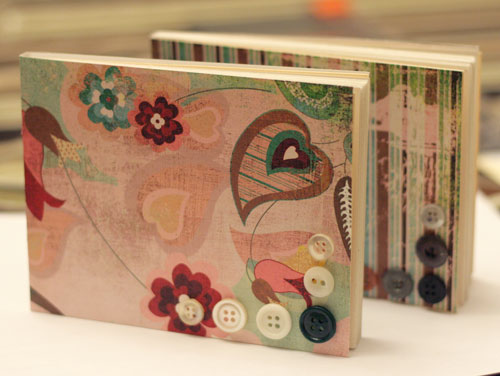
Now it’s time to spruce it up a bit. This step is optional, but what I chose to do was take some vintage buttons and glue them onto the front. You could also take some stamps and stamp a person’s name or initials on the cover, or even stamp a design on each individual page.

Ta da! Use your creativity! If you do this tutorial and post about it, I’d love to see it, so feel free to comment below!
Check out my new blog button using these notebooks – I’d love it if you grabbed it and put it in your blog!

12 comments:
Love the little books - that paper is so pretty! :)
Awww... so cute! I love it!
What a great idea, and your tutorial is very easy to understand. Thanks!
Very cute!
I love reading at the bookstore too!
I love them! I think it's something you could easily add to your etsy shop! They are very nice!
Awesome tutorial! I, too, find great enjoyment sipping a coffee and browsing magazines in the bookstore. :-)
Love your books! I just saw that same magazine for the first time last week! I'm putting your creek button on my blog.
Bloomfield Beads
Great tutorial! Beautiful book!
Very cute tutorial!
I love this!!! I'll be making a few for myself and definitely a few for my daughter who loves to draw! I'll be sure to link when I do it :)
Oh, very very cool! My son always needs "adventure journals". This is very important when you're six! Your book is different than what I usually make, so I'll make lots of extras LOL! I can also see gluing some sort of loop (maybe extra paper and folder?) under one of the sides of the cover for a pen. You MUST have a PEN when you're on an adventure!
Beautiful tut! thank you for sharing!
I love sketchbooks! :)
Post a Comment